

"Shoulder Sculptors: Unleash the Power with These Dynamic Shoulder Exercises!"
Introduction
Welcome to Week 6 of our shoulder exercises for beginners. By now, you've laid a solid foundation, and it's time to level up those shoulder gains! These exercises are like the superheroes of your upper body, working those shoulder muscles to make you feel strong and confident.
Remember, we're keeping it beginner-friendly, so no need to worry if you're new to this. We'll guide you through simple yet effective moves that target your shoulders without overwhelming you. Consistency is the key, and each week builds on the last, making you stronger one exercise at a time.
Get ready to flex those shoulder muscles and enjoy the journey to a stronger, more resilient you! Let's dive into Week 6 with enthusiasm and determination. You've got this!
Benefits Of Shoulder Exercises:

1.Hello, Strength!
- Shoulder exercises make your shoulder muscles stronger than ever. Say goodbye to feeling weak; say hello to carrying all those grocery bags in one go!
2.Posture Power
- Ever heard of a slouchy superhero? Nope, because superheroes have great posture. Shoulder exercises help you stand tall and confident, just like your favorite hero.
3.No More Shoulder Pain
- Wave goodbye to annoying shoulder pain. Regular shoulder workouts keep your joints happy and healthy, reducing the chances of those aches and twinges.
4.Flexibility Boost
- Want to be as flexible as a gymnast? Shoulder exercises improve your shoulder flexibility, making reaching for things on high shelves a piece of cake.
5.Injury Prevention
- Strong shoulders act like bodyguards, protecting you from injuries. Think of them as your personal defense squad against strains and sprains.
6.Stress-Buster
- Stress is no match for shoulder exercises. The physical activity releases endorphins, making you feel happier and more relaxed.
7.Better Sleep
- Tossing and turning at night? Shoulder exercises can help you get a good night's sleep by easing tension and promoting relaxation.
8.Tank Top-Ready Arms
- Dreaming of toned arms? Shoulder exercises sculpt your deltoids, giving your arms that toned and fabulous look you've always wanted.
9.Improved Athletic Performance
- Whether you're into sports or just want to be more active, strong shoulders enhance your overall athletic performance. Run, jump, and play like a pro!
10.Confidence Booster
- Stand in front of the mirror and flex those shoulders. Feeling confident, aren't you? Shoulder exercises boost your self-esteem, making you feel on top of the world.
List Of Shoulder Exercises
1.Neutral grip shoulder press
Welcome to Week 6 of Shoulder Exercises for Beginners! Today, we're diving into the world of Neutral Grip Shoulder Press. This exercise not only sounds cool but also works wonders for your shoulders. 
The neutral grip means your palms face each other, giving your shoulders a different challenge. It's like a secret handshake for your muscles!
This exercise is great for beginners because it's not too complicated. You just press those weights up, making your shoulders strong and happy.
This exercise is great for beginners because it's not too complicated. You just press those weights up, making your shoulders strong and happy.
Remember, it's not about lifting the heaviest weights—it's about doing it right. So, grab your dumbbells, get into position, and let's press our way to stronger shoulders!
The advantages of a shoulder press with a neutral grip
1. Shoulder Strengthening workout:
- This workout aims to build and tone your shoulder muscles.
2. Stability Magic:
- You can better control your movement by adding an additional layer of stability with the neutral grip.
3.Together-friendly:
- Compared to other shoulder workouts, it is less taxing on your shoulder joints and lowers your chance of injury.
4.Versatile Vibes:
- Targets your triceps and upper back muscles in addition to your shoulders.
How to Do It:.gif)
.gif)
1.Setup:
- Take a seat or stand with a barbell at shoulder height and a neutral grip.
2.Grip It Right:
- Hold the bar with your hands shoulder-width apart, palms facing each other.
3.Posture Is Important:
- Keep your back straight and tighten your core to provide stability.
4.The Lift:
- Raise the bar above your head while fully extending your arms, and then carefully lower it back down.
5.Repeat:
- To begin, aim for three sets of ten to twelve repetitions, modifying the weight based on your level of comfort and strength.
Common Mistakes to Avoid:
1.Overdoing It:
- Start with a weight that challenges you but allows proper form. Avoid the temptation to go too heavy too soon.
2.Chicken Necking:
- Keep your neck in a neutral position; avoid jutting it forward as you press.
3.Speed Demons:
- Slow and controlled is the key. Don't rush through the exercise; savor each rep.
4.Elbow Rebellion:
- Keep your elbows in line with your wrists. Avoid letting them flare out.
2.Incline Dumbbell Y raises
Incline Dumbbell Y Raises are a fantastic shoulder exercise that targets those important muscles. Imagine lying on an incline bench with a dumbbell in each hand, forming a Y shape with your arms. As you lift the dumbbells, you're not just working your shoulders but also engaging your upper back muscles. This exercise helps build shoulder strength and stability, enhancing your overall upper body function.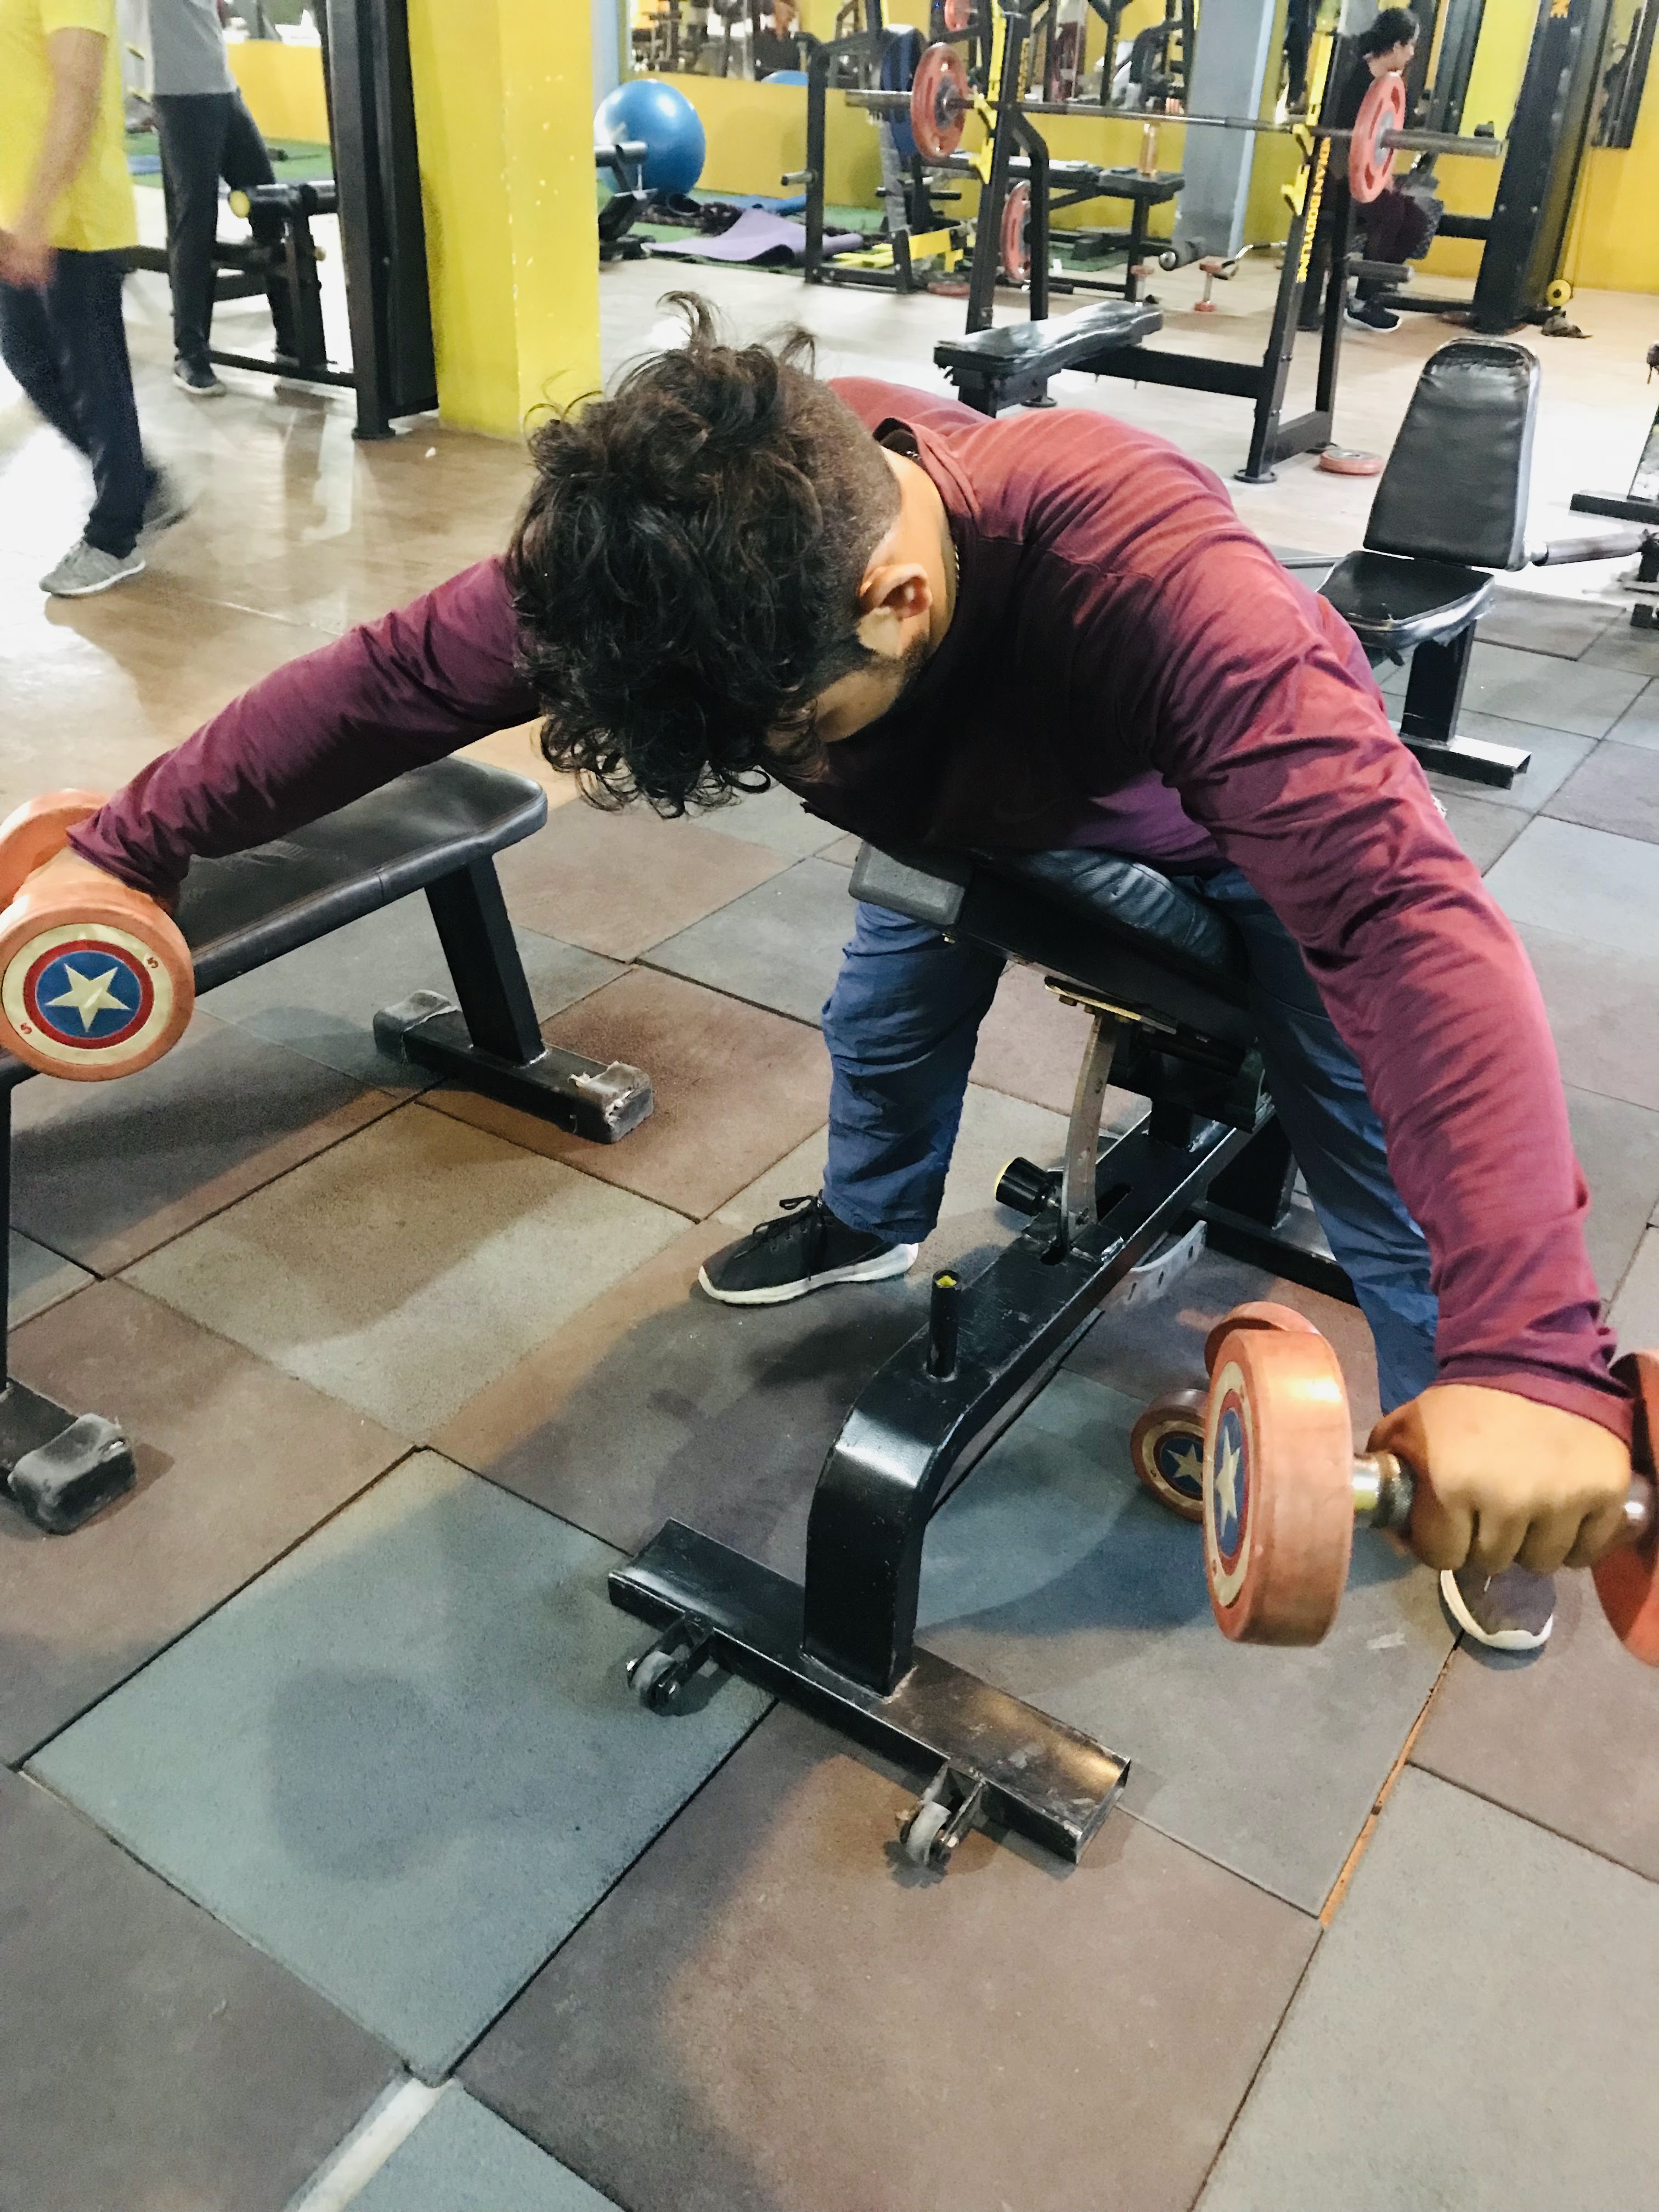
What makes it cool is that it's not super complicated, making it great for beginners. Plus, the incline adds an extra challenge, giving your muscles a good workout. Whether you're aiming for those sculpted shoulders or just want to boost your upper body strength, Incline Dumbbell Y Raises are a simple yet effective way to get there.
Benefits of Y-raises with an inclined dumbbell:
1.Specific Shoulder Development:
- Y Raises work the shoulders in particular, building and toning the surrounding muscles.
2.Better Posture:
- Building stronger shoulder muscles helps to improve posture and lowers the chance of slouching.
3.Versatility:
- By changing the weight of the dumbbells used, this exercise can be modified for a range of fitness levels.
4.Joint Stability:
- Promotes general joint health by improving stability in the shoulder joints.
5.Decreased Injury Risk:
- Shoulder strengthening can aid in preventing injuries brought on by unstable shoulders.
How to Use Incline Dumbbells for Y Raises:.gif)
.gif)
1.Setup:
- Hold a dumbbell in each hand at a 45-degree angle while seated on an inclined bench.
2.Lie Down:
- On the slanted bench, lie face down with your palms facing each other and your arms hanging straight down.
3.Raise Arms:
- As you raise the dumbbells higher and outward, raise them with your arms in a Y form.
4.Move carefully and Controlled:
- Take care to ascend and descend stairs carefully and deliberately.
5.Engage Core:
- To maintain stability during the exercise, maintain an active core.
Recommended Sets and Repetitions:
1.Sets:
- Start with 3 sets.
2.Repetitions:
- Aim for 10-12 repetitions per set. Adjust the weight to challenge yourself without sacrificing form.
Common Mistakes to Avoid:
1.Over-Weight:
- Make an effort to select a weight that will allow you to do the exercise correctly throughout.
2.Overarching the Back:
- Maintain your back flat on the bench to avoid overstretching it.
3.Rushing the Movement:
- Complete the lifts slowly and methodically for maximum muscular engagement.
4.Ignoring Core Engagement:
- Maintain a strong core throughout the activity to keep your body moving.
3.Dumbbell Up Right Row
The Incline Dumbbell Upright Row is a shoulder exercise that works wonders for building strong and shapely shoulders. This move is like giving your shoulders a little boost by lifting dumbbells while on an inclined bench. Imagine sitting on a slope and lifting weights straight up to shoulder level—it targets those shoulder muscles in a unique way.
What's cool about this exercise is that it not only strengthens your shoulders but also engages your traps and upper back. It's like a triple threat for upper body strength! Just be sure to keep it smooth and controlled to avoid any unwanted strain. So, if you're looking to elevate your shoulder game and add some definition to your upper body, the Incline Dumbbell Upright Row might just be your new favorite move!
Benefits:
1.Targeted Muscle Engagement:
- The Incline Dumbbell Upright Row focuses on the lateral deltoids, traps, and upper back muscles.
2.Shoulder Definition:
- Regular inclusion can help sculpt and define your shoulder muscles for that chiseled look.
3.Improved Shoulder Mobility:
- The exercise enhances shoulder joint mobility, reducing the risk of stiffness.
4.Functional Strength:
- Building strength in these muscles contributes to better overall upper body strength and functionality.
Sets and Reps:
- Start off by performing three sets of ten to twelve reps.
- By modifying the weight to your level of fitness, you may ensure that the final sets are challenging yet manageable.
How to Do It:.gif)
.gif)
Setup:
- Set an incline bench at a 45-degree angle.
Grab Dumbbells:
- Hold a dumbbell in each hand, arms fully extended, with a neutral grip (palms facing your body).
Lift:
- Keep your core engaged, and elbows slightly bent, lift the dumbbells towards your chin.
Controlled Descent:
- Lower the dumbbells back down slowly to the starting position.
Common Mistakes to Avoid:
1.Overarching Your Back:
- To prevent putting undue strain on your lower back, keep your spine in a neutral position.
2.Using Excessive Weight:
- To guarantee good form and lower the chance of damage, start with a moderate weight.
3.Raising Your Elbows Too High:
- To properly target your shoulders, keep your elbows slightly higher than your wrists.
4.Jerky Motions:
- Complete the exercise slowly and deliberately to prevent harm from jerky, abrupt movements.
4. One Arm Dumbbell Lateral Raise
The Incline One Arm Dumbbell Lateral Raise is a cool shoulder exercise that targets those important shoulder muscles. Picture this: you're sitting on a slightly inclined bench, holding a dumbbell in one hand. With a smooth motion, you lift the dumbbell out to the side until your arm is parallel to the ground. This move not only works on your shoulder muscles but also helps improve shoulder stability. It's like giving your shoulders a little boost and making them stronger.
Why do it? Well, strong shoulders don't just look good; they also make daily activities easier and reduce the risk of injuries. So, if you're ready to give your shoulders some love and build those muscles, the Incline One Arm Dumbbell Lateral Raise might just be your new favorite exercise!
Benefits:
1.Isolation of Side Delts:
- The Incline One Arm Dumbbell Lateral Raise precisely targets the lateral or side deltoids, helping you achieve that desirable broad-shouldered look.
2.Enhanced Muscle Definition:
- This exercise hones in on the smaller muscles of the shoulder, promoting a more defined and sculpted appearance.
3.Improved Shoulder Stability:
- Engaging one arm at a time challenges your shoulder stability, enhancing overall joint strength and reducing the risk of injuries.
4.Versatility in Training:
- Whether you're a beginner or a seasoned gym-goer, this exercise can be tailored to your fitness level by adjusting the weight and intensity.
Reps & Sets:
For best outcomes, strive for:- Three-four sets
- Reps: ten to twelve each arm
- Start with a weight that is difficult for you but still permits good form. You can progressively raise the resistance as you go.
How to Do It:.gif)
.gif)
Set Up:
- Position an incline bench at a 45-degree angle. Grab a dumbbell with your right hand and place your left hand on the bench for support.
Initiate the Movement:
- Keeping a slight bend in your elbow, lift the dumbbell to the side until your arm is parallel to the floor.
Controlled Descent:
- Lower the dumbbell back down with control, feeling the stretch in your shoulder.
Switch and Repeat:
- After completing the desired reps on one arm, switch to the other and repeat the process.
Common Errors to Prevent:
1.Swinging the Body:
Refrain from using any momentum or body swaying and instead maintain precise form. This guarantees that the majority of the work is done by the lateral delts.
2.Using Too Much Weight:
Try to use a weight that will test your muscles without making your form look bad. Exact execution is essential.
3.Neglecting Posture:
To preserve your lower back and get the most out of the activity, maintain a neutral spine and an engaged core.
5. Pike Pushup
A great shoulder exercises that tones and defines your upper body are pike push-ups. Think of a push-up as having a literal twist! Your body forms an upside-down V during a pike push-up, which emphasizes your shoulders. It feels like a fantastic post-workout treat for your deltoids. This is a full-body exercise that works your arms and core in addition to your shoulders. Pike push-ups can be modified to meet your fitness level regardless of experience level. Furthermore, you don't need sophisticated gym equipment to perform them anyplace. Prepare yourself to improve your shoulder game and sculpt those muscles with this difficult yet fruitful workout!
Benefits of pike push-ups
1.Targeted Shoulder Workout:
- One kind of exercise that works the shoulders and helps build strength and definition is the pike pushup.
2.No Hardware Needed:
- For Pike Pushups, you don't need any gym equipment or weights. They can be performed anyplace.
3.Enhances Shoulder Stability:
- This exercise helps to enhance balance and stability by activating the shoulder stabilizing muscles.
4.Boosts Upper Body Strength:
- Pike Pushups target not just the shoulders but also the chest, upper back, and triceps, which contributes to the development of overall upper body strength.
5.Appropriate for Every Level of Fitness:
- Regardless of expertise level, pike pushups can be altered to meet the needs of any fitness enthusiast.
The Proper Method for Pike Push-Ups:.gif)
.gif)
1.Starting Position:
- Begin in the plank position with your hands slightly wider than shoulder-width apart.
2.Assume the Pike Position:
- Lift your hips up to the sky, forming an inverted V with your torso.
3.Head Down:
- While keeping your elbows bent, lower your head toward the ground while maintaining the pike posture.
4.Push Back Up:
- Press through your shoulders to get back to the starting plank position.
Reps & Sets:
Starting Point:
- If you're new to pike pushups, start with 2-3 sets of 8–10 repetitions.
Gradual Progression:
- To challenge your shoulders, progressively increase the sets and reps as you become comfortable.
Common Mistakes to Avoid:
1.Poor Pike Position:
- Ensure a proper pike position with your hips lifted high to engage the shoulders effectively.
2.Elbows Flaring Out:
- Keep your elbows close to your body to target the shoulders and prevent unnecessary strain on the joints.
3.Rounded Back:
- Maintain a straight line from your head to your heels, avoiding a rounded back to protect your spine.
4.Overarching Neck:
- Keep your neck in line with your spine to prevent straining the neck muscles.
Post a Comment
0Comments