

"Level Up Your Leg Day: Week 2 Beginner's Gym Leg Workout!"
Introduction
Welcome to week 2 of your gym journey, where we continue to sculpt and strengthen those all-important lower limbs through an invigorating leg workout. For beginners, this phase is a pivotal step toward building a solid fitness foundation.
Leg workouts are an essential component of any well-rounded fitness routine. They not only enhance your lower body aesthetics but also contribute to improved overall strength and stability. As a gym novice, it's crucial to proceed with caution and gradually increase the intensity of your workouts to avoid injury. Week 2 is designed to help you do just that.
During this stage, compound and isolation exercises will be used to target the quadriceps, hamstrings, calves, and glutes, among other leg muscular groups. These activities help burn calories and build muscle while also accelerating metabolism. To build the strong, slender legs that will serve as the cornerstone of your success in the fitness industry, let's get dressed, put on our sneakers, and get to work.
Why this blog is meant for beginners ?

Writing current and informative content for the fitness business requires having a clear understanding of your target audience. This blog post on leg workout is intended for new gym goers who have just concluded orientation week. They are prepared to strengthen and improve their lower body because they have reached a turning point in their fitness path.
In order for people to start their fitness journey with confidence and knowledge, we want to offer them a leg training program that is effective, safe, and easy to follow. So if you're a gym newbie looking to tone those legs, you're at the right place!
Set Clear Expectations
- Welcome to our fitness blog, where we espouse the notion that setting clear expectations is the key to effective exercises. We'll lay it all out for you in this piece, explaining what to expect from our blog and the thrilling voyage we're about to on together. You've come to the right place if you're a newbie in your second week of fitness training and want to build stronger leg muscles.
What to Expect:
Step-by-Step Guidance:
- Our blog will provide a comprehensive, step-by-step leg workout plan designed specifically for beginners. We understand the importance of a structured approach, and we'll break down each exercise to ensure you have a solid foundation.
Benefits of the Workout:
- We'll go through the advantages of a leg-focused workout, from increasing strength and stamina to enhancing balance and flexibility. Knowing these benefits will help you stay inspired as you travel.
Safety and Form:
- Your safety is our top priority. You may anticipate thorough guidance on the best form and technique to avoid injuries and achieve the best outcomes.
- We'll provide helpful advice and inspiration along the road to keep you on track and help you reach your fitness objectives.
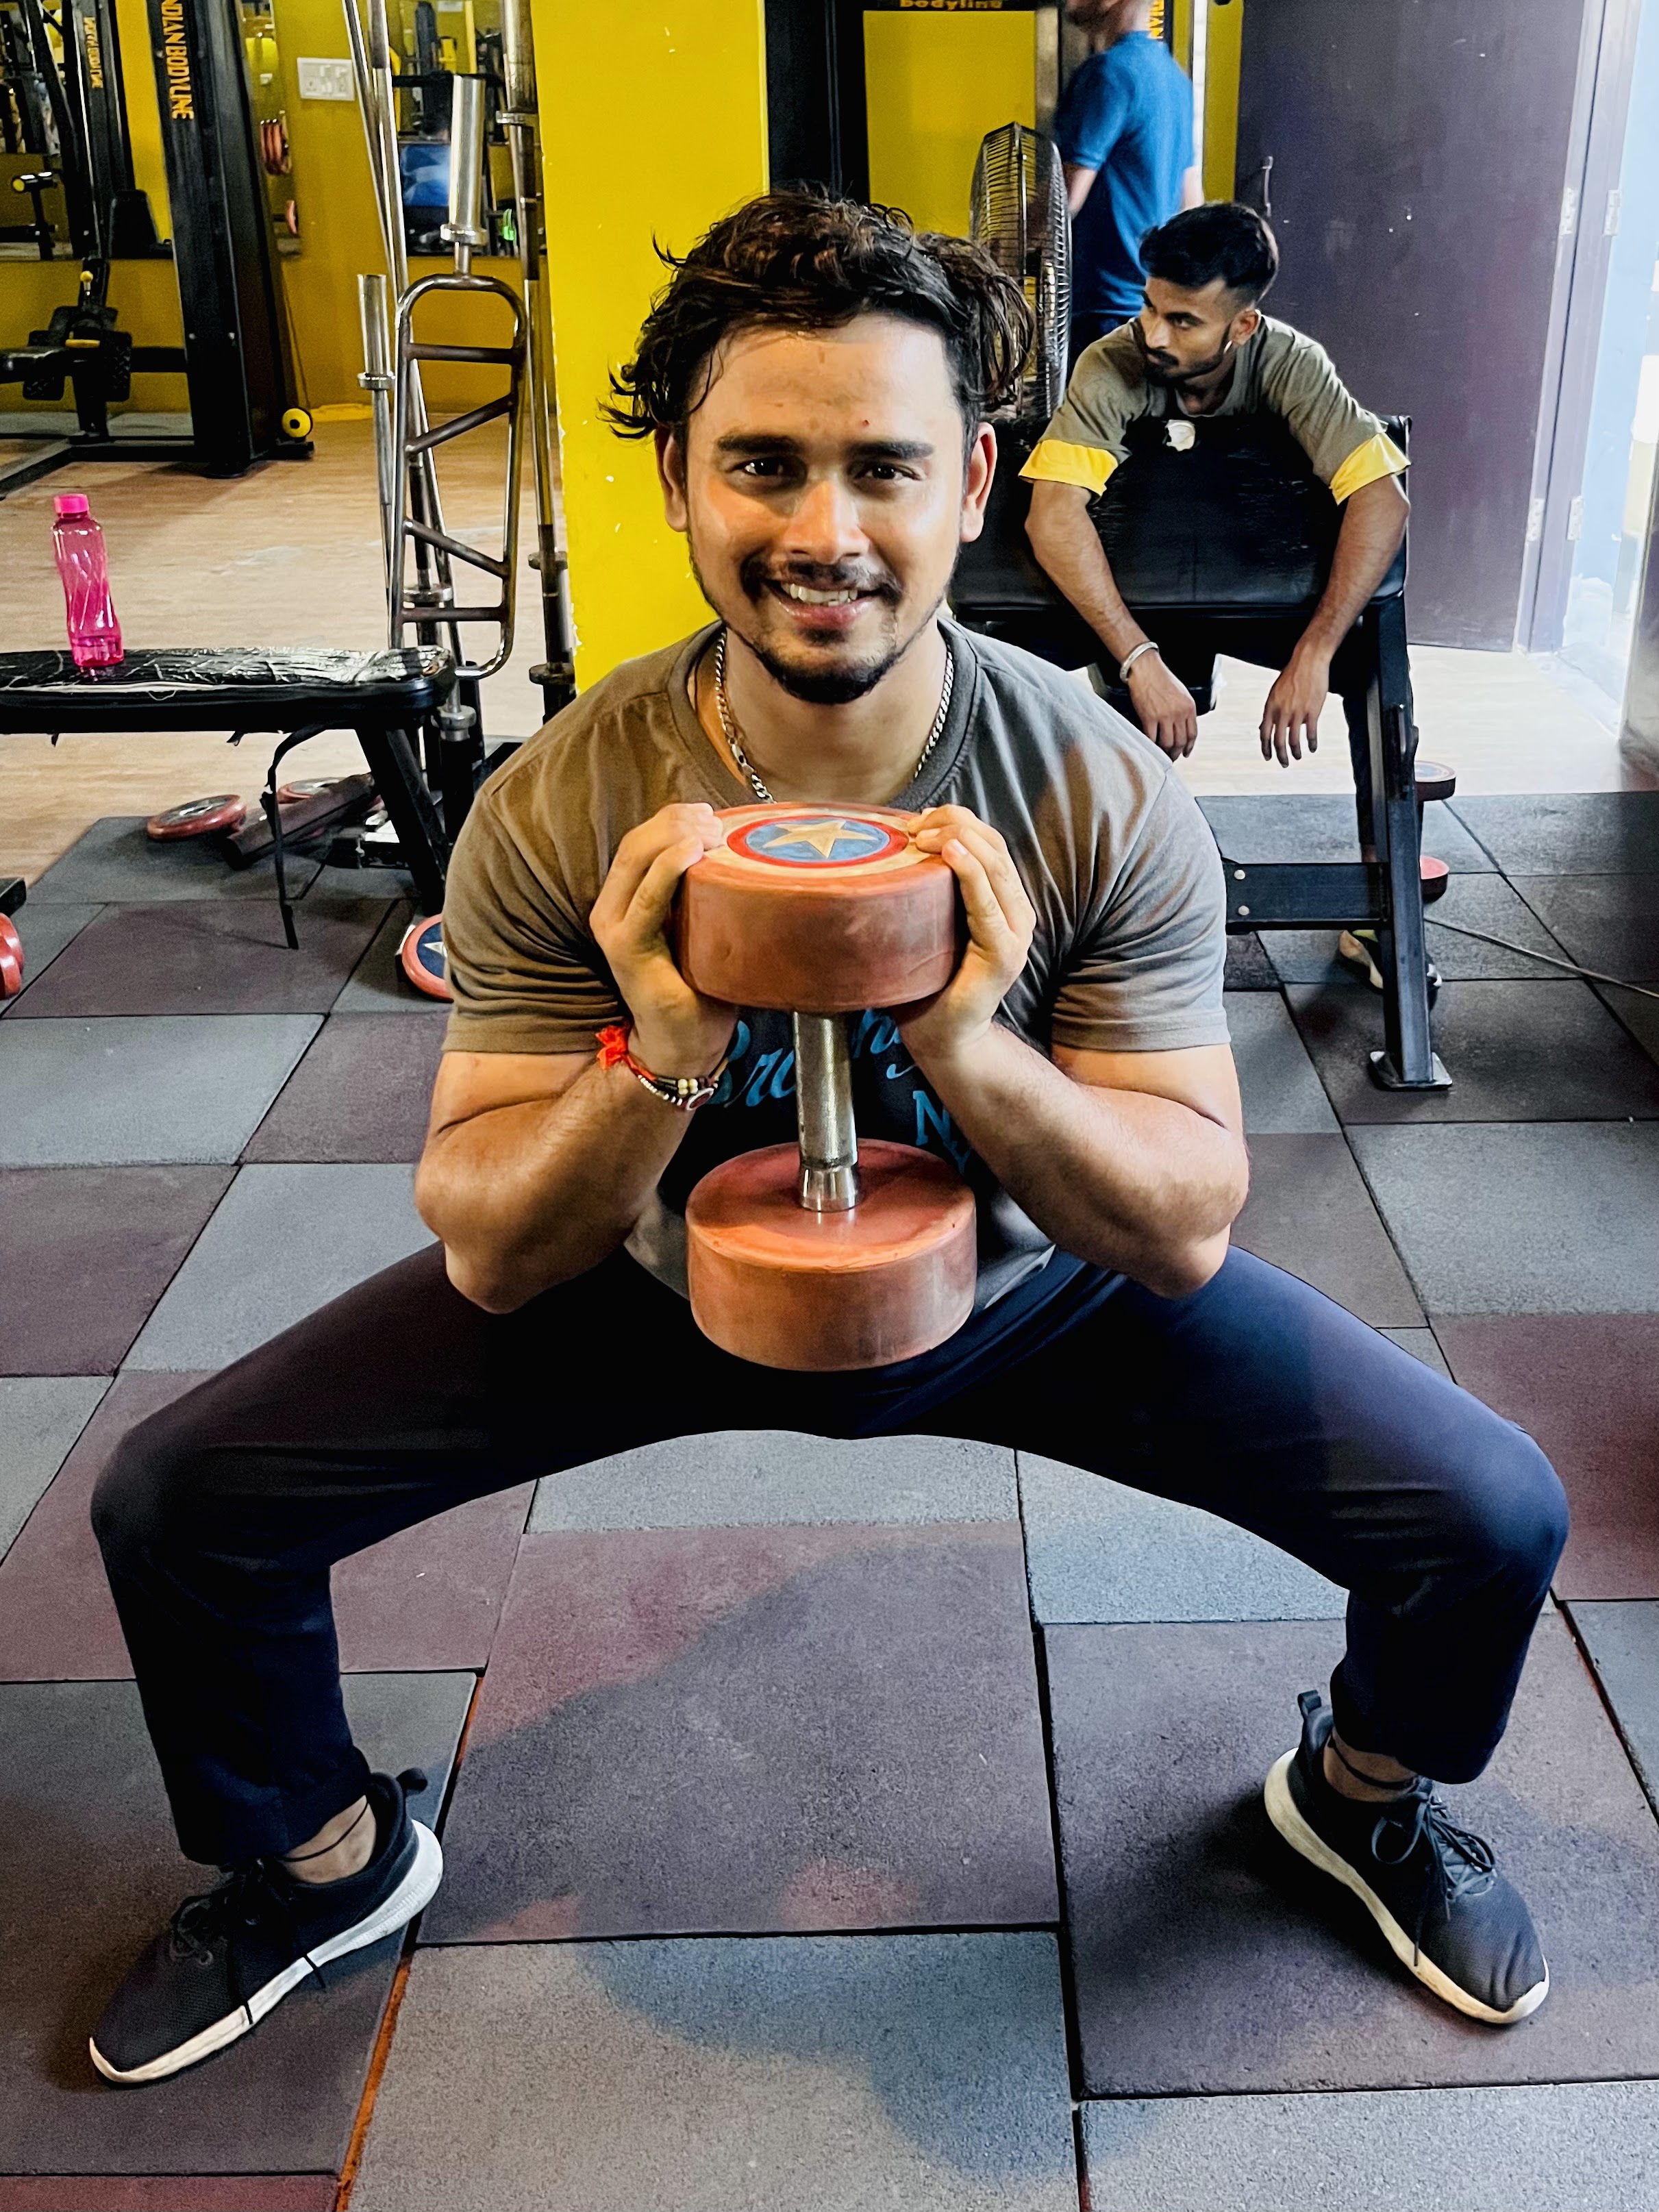
1.Front Squat

The front squat, a stalwart in leg workouts, is a dynamic compound exercise that places the barbell across the front of the shoulders, demanding strength and stability. Targeting the quadriceps, hamstrings, and glutes, this variation amplifies core engagement, fostering balance and posture.
With a more upright torso, it minimizes stress on the lower back while intensifying the challenge on the lower body. Precision in form is key, making it a favorite among fitness enthusiasts for sculpting powerful, well-defined legs. Elevate your leg day routine with the front squat—a functional, versatile gem that builds both strength and aesthetics.
How to do a front squat correctly
1.Starting Position:
- A barbell should be placed on a squat rack so that it is at chest height.
- Standing with your feet shoulder-width apart, face the bar.
- You should maintain a firm overhand grip on the bar while keeping your elbows up and your upper arms parallel to the floor.
- As you step back and take the bar out of the rack, maintain a straight back.
2.Execution:
- Pushing your hips back while simultaneously bending your knees initiates a squat.
- Throughout the entire workout, keep your back straight and chest up.
- Until your thighs are parallel to the ground or less, squat down.
- driving through your heels to return to the location
3.Common Mistakes to Avoid:
- Allowing the elbows to drop, which can cause the bar to roll forward.
- Leaning too far forward, putting excessive strain on the lower back.
- Neglecting proper bracing of the core, leading to instability.
Sets and Repetitions
- Beginner: 3 sets of 8-10 repetitions
- Intermediate: 4 sets of 6-8 repetitions
- Advanced: 5 sets of 4-6 repetitions
Rest Periods
- Between Sets: 1-2 minutes for hypertrophy (muscle growth); 2-3 minutes for strength and power.
Progression
To continually challenge yourself and make progress:
Increase Weight:
- Gradually add weight to the bar as your strength improves.
Vary Foot Position:
- Experiment with a wider or narrower stance to target different muscle groups.
Controlled Tempo:
- Slow down the descent phase to increase time under tension.
Single-Leg Variations:
- Incorporate single-leg front squats to enhance balance and unilateral strength.
Safety Tips.gif)
.gif)
Master the Technique:
- Prioritize proper form before adding weight to prevent injuries.
Use Proper Equipment:
- Invest in weightlifting shoes for added stability and wrist mobility.
Warm-Up Thoroughly:
- Engage in a dynamic warm-up to prepare your muscles and joints.
Listen to Your Body:
- If you experience pain beyond normal muscle fatigue, reevaluate your form or consult a fitness professional.
Spotter or Safety Bars:
- When lifting heavy, have a spotter or use safety bars to catch the barbell if needed.
2.Leg Press

The leg press is a fundamental and highly effective exercise within the realm of leg workouts. It serves as a cornerstone of lower body strength training, targeting key muscle groups such as the quadriceps, hamstrings, and glutes. This exercise involves pushing a weighted sled upwards using the legs, offering an excellent alternative to squats and lunges.
Whether you're an avid fitness enthusiast or a beginner looking to build leg strength, the leg press is a versatile choice. Its accessibility in various gym settings and adaptability to different fitness levels make it a go-to exercise for anyone aiming to enhance lower body power, stability, and overall athleticism.
Warm-Up: The Foundation of a Successful Leg Press
It's essential to warm up your body properly before beginning any strength training workout. An effective warm-up elevates your core temperature, improves blood flow, and aids with injury prevention. An appropriate warm-up for the leg press is as follows:
1.Warm-up for the cardiovascular system:
- Perform light cardio for 5 to 10 minutes, such as brisk walking, cycling, or elliptical training. By doing so, you raise your heart rate and get your muscles ready for more strenuous action.
2.Dynamic Stretches:
- Engage in dynamic stretches such as bodyweight squats, hip circles, and leg swings. These exercises increase the flexibility and mobility of your joints.
3.Specific Activation:
Perform bodyweight lunges or squats to specifically activate the muscles you'll be working on. This prepares your leg muscles for the exercise.
Technique: How to Perform Effective Leg Presses
The leg press should always be performed with appropriate form to maximize results while minimizing risk of injury. A good leg press technique is as follows:
1.Set up the Machine:
- When setting up the machine, make sure your knees are 90 degrees bent and your feet are shoulder-width apart.
2.Foot Placement:
- Put your feet flat on the footplate with your heels hip-width apart. Point yo ur toes slightly outside to target the entire leg.
3.Brace Your Core:
- Before lifting the weight, engage your core muscles to stabilize your spine.
4.Pushing Motion:
- Push the weight upward by extending your knees and hips. Avoid locking your knees at the top of the movement.
5.Lower the Weight:
- Slowly lower the weight back to the starting position, ensuring that your knees do not cave inwards. Control the descent.
6.Breathing:
Exhale as you push the weight and inhale as you lower it.
Using Sets and Reps to Set Goals for Your Leg Press Workout
- How many sets and repetitions you should accomplish will depend on your fitness goals:
- For strength and hypertrophy (muscle building), aim for 3-5 sets of 6–12 repetitions with a heavier weight.
- For endurance and toning, perform 2-3 sets of 15-20 repetitions with a little weight.
- Use a heavy weight and three to five sets of three to five repetitions, focusing on quick, forceful motions.
- Allowing Your Muscles Enough Time to Recover During Rest Periods
Your leg press training depends on how long you rest between sets:
Between sets, take two to three minutes to rest so that your muscles may fully recuperate and grow in size.
Between sets, take a short break of 30–60 seconds to maintain heart rate for endurance and toning.
To maximize recuperation and explosive force, rest for three to five minutes.
Progression: Gradually Increasing the Challenge
To continually challenge your muscles and see progress, consider these strategies:
Increase Weight:
- Gradually add more weight as you get stronger. Ensure you can maintain proper form with the added weight.
Change Foot Placement:
- Alter your foot placement to emphasize different leg muscles. Wider stances target the inner thighs, while narrower stances target the outer thighs.
Use Different Leg Press Machines:
- Experiment with various leg press machines, such as the vertical leg press or 45-degree leg press, to vary your workout.
Safety Advice: Put Your Health First
Your first priority when executing the leg press should always be safety:
1.Start with a short Warm-Up Set:
- To prepare your muscles for your working sets, execute a short warm-up set with a lighter weight.
2.Employ Spotters:
- When lifting big objects, keep a spotter close by to help you if necessary.
3.Proper Range of Motion:
- When performing the exercise, keep your knees from locking or buckling inward.
4.Listen to Your Body:
- If you feel any pain or discomfort during a workout, stop right away and get advice from a fitness expert.
5.Warm-down:
- To increase flexibility and lessen discomfort after your leg press training, perform static stretches.
3.Sumo Squats:
Sumo squats, a dynamic leg workout, draw inspiration from the wide stance of traditional sumo wrestlers. This exercise targets not only the quadriceps but also engages the inner thighs, hamstrings, and glutes. With a stance wider than shoulder-width and toes pointed outward, the sumo squat places unique emphasis on the adductor muscles. This versatile exercise promotes strength, stability, and flexibility in the lower body while challenging the core. Incorporating sumo squats into your routine not only enhances muscle development but also contributes to improved balance and functional fitness. Elevate your leg day with this powerful and effective variation, embracing the strength of the sumo squat.
Benefits:
1.Muscle Engagement:
- Sumo squats primarily target the muscles in the inner thighs, quads, hamstrings, and glutes. The wide stance emphasizes different muscle fibers compared to traditional squats, providing a comprehensive lower body workout.
2.Joint Flexibility:
- The sumo squat's wide stance enhances hip flexibility and mobility. This not only improves your range of motion but also contributes to better overall joint health.
3.Core Activation:
- The nature of the sumo squat requires core stabilization throughout the movement, leading to improved core strength and stability.
4.Caloric Burn:
- Engaging multiple muscle groups simultaneously elevates your heart rate, making sumo squats an excellent choice for burning calories and promoting weight loss.
How to do sumo squats:
Starting with your feet wider than shoulder-width apart, take a 45-degree step out with your toes pointed outward.
Form:
- Keep your core tight, chest high, and shoulders back. You can stoop by bending at the knees and hips. Ensure only that your knees are higher than your toes.
- Squat deep enough so that your thighs are parallel to the ground. Maintain a controlled descent and ascent to improve muscular engagement.
Continuity and Sets:
- For beginners, start with three sets of 10 to 12 repetitions.
- Reps should be increased to 4 sets of 12–15 for intermediate.
- Achieve your personal best by performing five sets of 15-20 repetitions.
Rest Periods:
- Allow 60-90 seconds of rest between sets. Adjust rest times based on your fitness goals—shorter rest for muscle endurance and longer rest for strength and hypertrophy.
Progression:
- To continually challenge your muscles and progress:
Add Weight:
- Hold a dumbbell or kettlebell at chest level or use a barbell across your shoulders.
Increase Intensity:
- Perform sumo squats on an elevated surface to increase the range of motion and difficulty.
Safety Tips:
Proper Form:
- Maintain good form throughout the exercise to prevent injury. If you experience discomfort, reassess your form or consult a fitness professional.
Warm-up:
- Prioritize a dynamic warm-up to prepare your muscles and joints for the demands of sumo squats.
Listen to Your Body:
- Pay attention to any pain or discomfort. If something doesn't feel right, modify the exercise or seek guidance.
4.Bulgarian Split Squat

The Bulgarian Split Squat is a leg workout that packs a punch, demanding strength, balance, and flexibility. Originating from the realm of functional training, this exercise hones in on each leg individually, intensifying the challenge. With one foot elevated behind, it engages muscles in the quads, hamstrings, and glutes, sculpting a symphony of lower body strength.
This unilateral approach not only fosters muscle development but also addresses muscle imbalances. As you delve into the Bulgarian Split Squat, you embark on a journey of lower body transformation, forging stability and power one controlled lunge at a time.
Benefits:
Muscle Engagement:
- Bulgarian Split Squats target multiple muscle groups simultaneously, including quadriceps, hamstrings, glutes, and calves. This makes it a time-efficient exercise for those looking to sculpt and tone their lower body.
Improved Balance and Stability:
- The unilateral nature of this exercise forces each leg to work independently, enhancing balance and stability. This is especially beneficial for athletes and those engaging in activities that require agility.
Reduced Muscle Imbalances:
- By isolating each leg, Bulgarian Split Squats help address muscle imbalances, which can often lead to discomfort and injuries in daily activities.
Increased Range of Motion:
- The elongated stance in this squat variation allows for a deeper range of motion compared to traditional squats. This can contribute to increased flexibility over time.
How to Do Bulgarian Split Squats:
Setup: Stand with your feet hip-width apart, a few feet away from a bench or elevated surface.
Positioning:
- Place one foot behind you on the bench, toes pointing downward. Your front foot should be positioned far enough forward that when you lower your body, your knee doesn't extend beyond your toes.
Execution:
- Lower your body by bending your front knee, keeping your back knee just above the ground. Ensure your torso remains upright throughout the movement.
Return to Starting Position:
- Push through your front heel to return to the starting position.
Repeat:
- Complete the desired number of repetitions on one leg before switching to the other.
Repetition and Sets:.gif)
.gif)
Beginners:
- Begin by performing 2-3 sets of 8–12 repetitions on each leg.
Intermediate/Advanced:
- Increase the reps per leg to 12 to 15 in 3 to 4 sets.
Pauses for rest:
- Focus on the cardiovascular and endurance benefits of a short rest (30–60 seconds).
- Ideal for promoting Muscle Growth and Hypertrophy is Moderate Rest (60-90 Seconds).
- Long Rest (90+ Seconds): Good for developing strength and power.
Progression:
Add Weights:
- Hold dumbbells in each hand or a barbell across your upper back to increase resistance.
Elevate Front Foot:
- Place your front foot on an elevated surface to increase the depth of the squat.
Plyometric Variation:
- Incorporate a jump between lunges to add an explosive element.
Safety Tips:
Proper Form:
- Maintain proper form to avoid unnecessary strain on your knees and lower back.
Controlled Movements:
- Focus on controlled, deliberate movements rather than speed.
Balance Support:
- Use a wall or sturdy object for balance support if you're a beginner.
Consultation:
- If you have existing knee or hip issues, consult with a fitness professional or healthcare provider before adding this exercise to your routine.
5.Barbell glute bridge

The barbell glute bridge is a powerhouse leg workout that zeroes in on sculpting and strengthening the glutes. This exercise involves lying on your back, placing a barbell across your hips, and lifting your pelvis toward the ceiling. Not only does it ignite the glute muscles, but it also engages the hamstrings and lower back, creating a comprehensive lower body burn.
The barbell adds resistance, intensifying the challenge and promoting muscle growth. Whether you're aiming for a firmer posterior, enhanced athletic performance, or overall lower body strength, the barbell glute bridge is a dynamic addition to any leg day routine.
Benefits:
1.Glute Activation:
- The greatest muscle in the buttocks, the gluteus maximus, is the goal of the Barbell Glute Bridge, which ensures optimum activation for the best growth and strength.
2.Posterior Chain Engagement:
- Exercise that Promotes Balanced Muscle Development: This exercise promotes balanced muscle development by using the entire posterior chain, including the hamstrings and lower back.
3.Improved Hip Extension:
- Enhances hip extension, an essential movement in a variety of sporting pursuits and daily chores.
4.Core Stability:
- The Barbell Glute Bridge needs core activation, which contributes to better stability and posture.
Instructions for the Barbell Glute Bridge:
Setup:
- Put a barbell over your hips while lying on your back.
- Put your feet on the ground with your hips spaced.
- Ensure that your knees are bent 90 degrees.
Execution:
- Driving through your heels while raising your hips to the ceiling.
- Squeeze your glutes at the end of the workout.
- You can consciously lower your hips to regain your starting position.
Continuity and Sets:
- For beginners, start with three sets of 10 to 12 repetitions.
- Reps should be increased to 4 sets of 12–15 for intermediate.
- For advanced workouts, aim for 4-5 sets of 15-20 repetitions.
Rest Periods:
- 60–90 seconds should elapse between sets to allow for some recuperation.
- Use the Barbell Glute Bridge in between exercises, giving your lower body or entire body workout enough respite.
Progression:
Increasing Weight:
- As your strength develops, gradually increase the weight on the barbell.
Advanced variants:
- To increase intensity, try single-leg variants or raise your feet.
Safety Tips:
Proper Form:
- Ensure a straight line from shoulders to knees at the top of the movement.
- Avoid overarching your lower back.
Barbell Placement:
- Position the barbell securely on your hips, avoiding pressure on the abdomen.
Warm-Up:
- Prioritize a dynamic warm-up to prepare your muscles and joints.
Start with Body Weight:
- Master the form without added weight before progressing to the barbell.
6.Calf raises

Calf raises, a stalwart in leg workouts, sculpt the often overlooked yet essential muscles of the lower legs. This targeted exercise primarily engages the gastrocnemius and soleus, fostering strength, stability, and aesthetic definition. Executed by lifting the heels against resistance, calf raises promote ankle flexibility and muscular endurance.
Whether you're a fitness enthusiast seeking well-rounded lower body development or an athlete aiming to enhance performance, incorporating calf raises into your regimen can contribute to balanced strength and a powerful foundation. Elevate your leg routine with this fundamental exercise, fostering not only muscular prowess but also resilient lower limbs.
Benefits of Calf Raises:
1.Muscle Development:
- Calf raises primarily target the gastrocnemius and soleus muscles, leading to improved muscle tone, size, and strength in the calves.
2.Enhanced Athletic Performance:
- Strong calf muscles contribute to better balance, stability, and agility, which are essential for various athletic activities, including running, jumping, and sports that require quick directional changes.
3.Injury Prevention:
- Strengthening the calves can help prevent injuries such as shin splints and Achilles tendonitis by providing better support to the lower leg.
How to Perform Calf Raises:.gif)
.gif)
1.Stand with Proper Form:
- Start by taking a straight stance with your feet hip-width apart. Distribute your weight evenly.
2.Elevate Your Heels:
- The balls of your feet can be used to apply pressure in order to lift your heels off the ground. Try moving using your ankles as opposed to your knees.
3.Full Range of Motion:
- The calf muscles tensed at the peak of the exercise, which was as high as you could stand on your tiptoes.
4.Controlled Descent:
- Bring your heels back to the starting position slowly and gently to promote muscle activation.
Repetition and Sets:
- Start with 2-3 sets of 10-15 repetitions if you're a beginner.
Intermediate:
- Increase the reps to 3–4 sets of 15-20.
Advanced:
- Aim for 4-5 sets of 20–25 reps, increasing intensity by include single-leg calf raises or adding weight.
Pauses for rest:
- In order to maximize muscle recovery while keeping the workout's intensity, give yourself 30 to 60 seconds to rest between sets.
Nutrition and Hydration

Proper food and water intake are the hidden heroes of any good training program, especially during the rigorous leg day workouts. If you want to enhance muscle growth and recovery, it's critical to understand their significance.
1.Muscle Fuel:
- A balanced diet ensures that you are consuming an adequate amount of macronutrients (proteins, carbohydrates, and fats), giving you the energy you need for challenging leg workout
- Proteins are necessary for the upkeep and expansion of muscle tissue, which aids in the recovery process after exercise.
2.Hydration:
Water is the essence of life, and it's equally vital for your workout. Hydration supports nutrient transport, temperature regulation, and joint lubrication, all essential during intense leg workout.
3.Electrolyte Balance:
- Sweating during workouts leads to electrolyte loss. Replenishing electrolytes through balanced nutrition or supplements helps prevent muscle cramps and fatigue.
4.Preventing Dehydration-Related Fatigue:
- Even mild dehydration can hinder workout performance. Staying well-hydrated ensures sustained energy levels and focus throughout your leg day.
5.Post-Workout Recovery:
- Immediately after your leg workout, consuming a mix of protein and carbohydrates aids in muscle repair and glycogen replenishment.
6.Nutrient Timing:
- Distributing meals and hydration strategically around your leg day enhances nutrient absorption and utilization by muscles.
Cool Down and Stretching
1.Importance of Cool Down:
- Aids in gradual heart rate reduction.
- Prevents blood pooling in the legs.
- Helps prevent dizziness and fainting.
2.Dynamic Stretching:
- Enhances flexibility and range of motion.
- Leg swings and lunges target major muscle groups.
- Improves blood circulation to muscles.
3.Static Stretching:
- Holds for 15-30 seconds per stretch.
- Focus on hamstrings, quadriceps, and calf muscles.
- Reduces muscle soreness post-workout.
4.Deep Breathing:
- Promotes oxygen flow to muscles.
- Facilitates the removal of waste products.
- Calms the nervous system.
5.Foam Rolling:
- Relieves muscle tightness.
- Targets trigger points.
- Enhances overall flexibility.
6.Hydration:
- Continue drinking water during cooldown.
- Replenishes fluids lost during exercise.
- Supports muscle recovery.
7.Mind-Body Connection:
- Focus on the sensations in your muscles.
- Promotes mental relaxation.
- Reduces stress and tension.
8.Incorporate Yoga Poses:
- Downward Dog and Child’s Pose stretch major leg muscles.
- Enhances overall body flexibility and balance.
Conclusion
Congratulations on completing week 2 of your leg workout journey! By now, you've likely felt the burn and witnessed early gains. Remember, consistency is key. As a beginner, you're building a strong foundation for future progress. Reflect on your achievements, no matter how small, and stay motivated. Embrace the soreness; it's a sign of positive change. With each squat and lunge, you're sculpting not just your legs but a healthier, more resilient you. Keep it up!
Post a Comment
0Comments